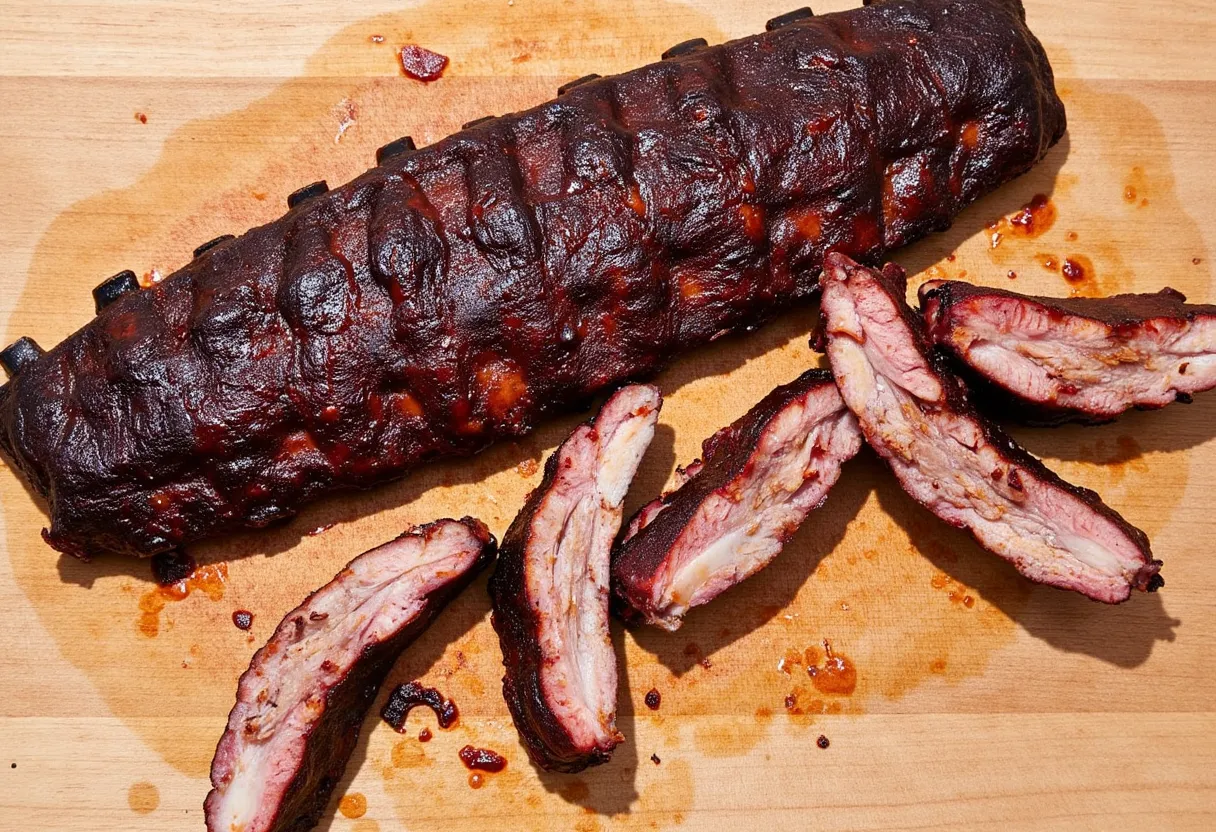
Let me tell you about these Memphis dry rub baby back ribs I made last weekend. GOOD LORD! I've been perfecting this recipe for years, and that persistence finally paid off. My neighbor Tom—who normally guards his plate like Fort Knox—practically begged for the recipe after our backyard cookout. Even better? My brother-in-law (who swears he makes the best ribs in three counties) fell suspiciously silent while demolishing his second rack. Nothing says victory quite like the silence of a competitive relative with dry rub on their face!

Memphis-style dry rub baby back ribs stand apart in the barbecue world. Unlike their sauce-slathered cousins, these beauties rely on a complex spice blend that creates a flavorful crust (or "bark" as pitmasters call it) that'll revolutionize your understanding of what great ribs can be. This isn't just cooking—it's edible alchemy.
The Anatomy of a Perfect Rib: Baby Backs 101
Before we dive into technique, let's understand what makes baby backs the ideal canvas for this recipe. Baby back ribs come from the upper portion of the pig's rib cage, connecting to the spine just above the larger spare ribs.
Here's why they're perfect for Memphis-style preparation:
- Size: Typically 3-6 inches in length (hence "baby")
- Meat-to-bone ratio: Higher meat content than spare ribs
- Fat content: Leaner, allowing the rub flavors to shine
- Tenderness: Naturally more tender, requiring less cooking time
My competition-obsessed buddy Frank insists on using St. Louis cut ribs for everything, but for authentic Memphis style, baby backs are the gold standard. Their more delicate structure lets that complex rub flavor penetrate without being overwhelmed by fat (though fat certainly has its glorious place in other BBQ styles).
The Magic Dust: What Makes a Memphis Dry Rub Special
The heart and soul of these ribs is the rub—a carefully balanced blend that creates layers of flavor complexity. Generous amounts of paprika provide that signature reddish color and smoky foundation, while brown sugar adds just enough sweetness to balance the savory and spicy elements.
I used to rely on pre-made rubs until my wife Karen pointed out the excessive sodium and preservatives lurking in those containers. Plus, crafting your own means total flavor control:
- Want more heat? Dial up the cayenne
- Sweet tooth? Increase the brown sugar
- Love garlic? You know what to do
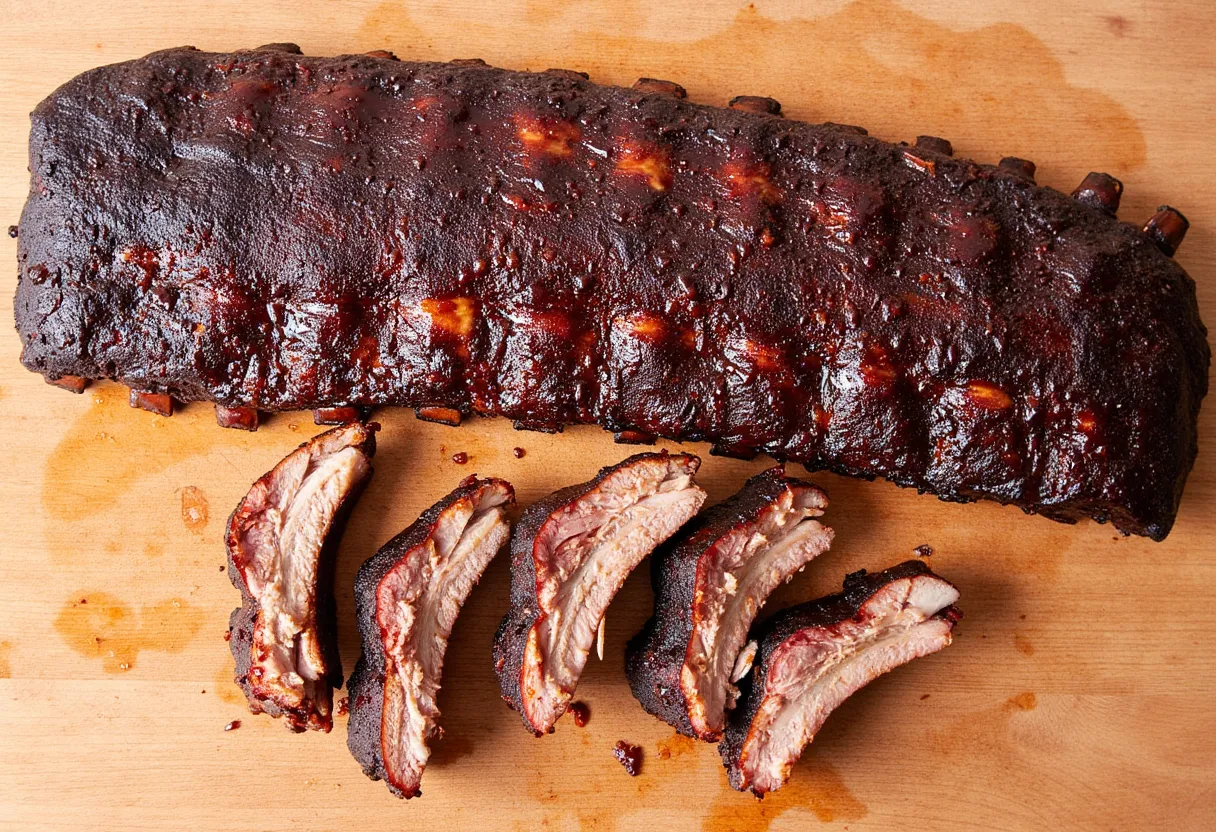
The brilliance of Memphis-style ribs is that they're served "dry"—meaning no sticky sauce masks the flavor you've spent hours developing. The magic happens when that spice blend forms a bark during the slow cooking process, creating a depth of flavor that sauce-based ribs can only dream about. It's a purist's approach to ribs that lets the pork and spices speak for themselves.
The Smoking Section: Low and Slow is the Way to Go
Smoking ribs isn't just cooking—it's a ritual that rewards patience with unparalleled flavor. Here's how to nail it:
First, you absolutely must remove that membrane from the back of the ribs. I learned this lesson the hard way after serving tough-backed ribs at a family reunion. My uncle Bob still references "membrane-gate" at EVERY HOLIDAY GATHERING. This thin layer prevents the rub from penetrating and creates an unpleasant leathery texture. Grab it with a paper towel (it's slippery!) and rip it off like you're removing a bandage.
The yellow mustard coating is non-negotiable, even if it seems strange. It won't impart mustard flavor—promise!—but acts as the perfect adhesive for your rub. Then massage that spice blend in like you're giving those ribs a five-star spa treatment.
For smoking, maintain a consistent 225°F and commit to the long game—about 4 hours of cooking time. Wood choice matters significantly:
- Hickory: The classic choice, robust and distinctly Southern
- Pecan: Milder, with a subtle sweetness
- Oak: Clean-burning with medium intensity
- Apple: Lighter, sweeter smoke perfect for pork
My competitive BBQ neighbor Dave converted me to the spritz method—misting with apple cider vinegar hourly not only adds flavor but creates the perfect environment for bark formation while preventing the meat from drying out.
Grill Master Flex: When Smoking Isn't an Option
Not everyone has dedicated smoking equipment, and that's perfectly fine. Grilling can produce exceptional Memphis dry rub ribs if you follow these critical principles:
The golden rule: indirect heat is essential. Create a two-zone fire with coals or burners on one side only, placing ribs on the cool side. Aim for a steady 275°F and plan for about 2 hours of cooking time.
The most catastrophic mistake I witness at neighborhood cookouts is direct high-heat grilling. My friend Tim attempted this shortcut last summer and produced ribs with a carbon exterior and practically raw interior. The resulting pizza delivery was both expensive and embarrassing.
To add smoke flavor without a dedicated smoker, try:
- Soaked wood chips in a foil packet with holes punched on top
- A small cast iron pan filled with wood chips
- Commercial smoke tubes filled with pellets
The key difference between grilled and smoked ribs is cooking temperature—grilling typically runs hotter, meaning faster cooking but slightly less tenderness. It's a worthy trade-off when time is limited.
Oven Lovin': Baking When the Weather Won't Cooperate
Sometimes external factors conspire against outdoor cooking. During our infamous blizzard of '22, I perfected my oven method while snowdrifts buried my smoker.
Preheat to 275°F, wrap those spice-rubbed ribs in foil with a splash of apple juice (creating a controlled steam environment), and bake for about 2.5 hours. For the crucial finishing touch, unwrap and broil briefly to develop that signature bark.
The oven method offers distinct advantages:
- Consistent temperature control
- Zero weather dependency
- Minimal equipment needed
- Exceptional tenderness from the steam environment
While purists might debate the authenticity, the results speak for themselves—incredibly tender ribs with pronounced flavor that might lack some smoke character but more than satisfy the craving.
Pro Tips from Years of Rib Failures and Triumphs
Let me save you from learning the hard way with these battle-tested insights:
- Trust feel over time: The "bend test" is more reliable than any timer. When ribs bend easily but don't break, they're done.
- Temperature matters: Consistency is more important than exact numbers. Dramatic temperature fluctuations ruin texture.
- Rest period is crucial: Those 10-15 minutes after cooking allow juices to redistribute throughout the meat.
- Proper cutting technique: Use a sharp knife and cut between bones with clean, decisive strokes.
- Strategic sides matter: Balance the rich, spicy ribs with:
- Creamy coleslaw (the acid cuts through the fat)
- Baked beans (sweet complement to the savory ribs)
- Cornbread (catches every precious crumb of rub)
I once attempted to accelerate cooking by cranking the temperature—a disaster my wife still references as the "Great Rib Catastrophe of 2019." The exterior carbonized while the interior remained dangerously undercooked. Our emergency pizza delivery driver arrived to a smoke-filled house and a defeated pitmaster.
Overall, Memphis dry rub ribs represent the perfect intersection of technique, patience, and flavor craftsmanship. There's something almost meditative about the process—the careful preparation, the vigilant monitoring, and the deeply satisfying reward.
When you bite through that perfectly seasoned crust into tender meat beneath, you're experiencing more than dinner—you're tasting culinary heritage. The complex layers of flavor tell a story that sauce-based ribs simply cannot match.
I've walked you through the what, why, and how of Memphis dry rub ribs—from understanding the ideal cut to creating the perfect spice blend to mastering three distinct cooking methods. Now it's your turn to bring this iconic barbecue style to your table.
OTHER RECIPES YOU'LL LOVE

Memphis Dry Rub Ribs Recipe
Ingredients
For the Memphis Dry Rub:
- ½ cup paprika
- ¼ cup packed brown sugar
- 2 tablespoons kosher salt not table salt—crystal size matters!
- 1 tablespoon black pepper
- 1 tablespoon garlic powder
- 1 tablespoon onion powder
- 1 teaspoon cayenne pepper adjust to your heat tolerance
- 1 teaspoon dried oregano
- 1 teaspoon ground cumin
- ½ teaspoon celery seed
For the Ribs:
- 2 racks baby back pork ribs approximately 2-2.5 pounds each
- 2 tablespoons yellow mustard the binding agent
- ½ cup apple cider vinegar for spritzing
Instructions
Smoking Method
- Prep the ribs: Remove the membrane from the bone side by sliding a butter knife underneath to loosen, then grip with a paper towel and pull completely off. Trim any excessive fat pockets.
- Create the rub: Thoroughly mix all dry ingredients in a bowl, breaking up any brown sugar clumps for even distribution.
- Apply the binder: Coat both sides of the ribs with a thin layer of yellow mustard.
- Season generously: Apply the dry rub liberally on all surfaces, pressing firmly to adhere.
- Prepare your smoker: Preheat to 225°F-250°F. Add your chosen wood chunks or chips.
- Position properly: Place ribs bone-side down on the grates, close the lid, and maintain consistent temperature.
- Maintain moisture: After the first hour, spritz with apple cider vinegar every 45-60 minutes.
- Test for doneness: At the 3-hour mark, check for:
- Meat pulled back from bone ends (¼-½ inch)
- Bend test: when lifted from one end, the rack should bend significantly without breaking
- Internal temperature around 195°F-203°F in the thickest part
- Rest: Allow ribs to rest 10-15 minutes before cutting. Apply a final light dusting of rub for presentation and flavor pop.
Grilling Method
- Follow steps 1-4 above, then:
- Create a two-zone fire with heat on one side only.
- Maintain 250°F-300°F on the cool side.
- Position ribs bone-side down on the indirect heat side.
- Grill for 1.5-2.5 hours, flipping occasionally and spritzing hourly.
- Test for doneness using the same indicators as the smoking method.
Oven Method
- Follow steps 1-4 above, then:
- Preheat oven to 275°F.
- Create foil packets for each rack with a tablespoon of apple juice inside.
- Seal tightly and bake for 2-3 hours.
- Optional finishing step: Unwrap, drain accumulated liquid, and broil for 3-5 minutes to develop crust.
Leave a Reply